Today I slept in till 11! Pretty scandalous for me. So it was right to work upon awakening. To get into the swing of things I decided to finally do a DIY from my "future projects" board on Pinterest. Too often I want to try something I see on there and then forget or just don't do it. So with great determination I went to choosing my project. Upon scanning my pins I knew which one I would conquer.
 |
| Just a little large!! Time to fix that! |
Enter Trash to Couture, the super awesome blog where I found this great tutorial on turning a large t-shirt into a cute dolman tee. As a fan of the dolman tee I knew this was the project for me.
 Per the directions I went to cutting the sleeves first. Since I've worked with T-shirts before I was more than aware of the fact that cotton will curl as soon as you cut it. So I decided it would be better to measure the sleeve in my arm first then sew the diagonals and cut the excess off afterwards. It made sewing it SO much easier!
  |
| No curling here!! |
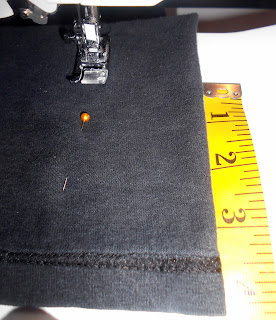
I did the same measuring on my hips before doing the gathering portion of the tutorial. I didn't want to sew it too small or not small enough and have to redo it over and over again. Once i marked how far to sew in I guest-timated that starting 4 inches above the hem would be sufficient. Lucky for me it was!
There was really no method here. I simply tucked the fabric as I sewed it. Easy Peasy!
When it came to sewing from the gathering point to the arm I found myself doing a sew-and-check pattern. I would sew it then try it on and sew it again until I thought it looked right. It didn't take too many try's to get it the way I wanted.
 I switched things up even more by doing the first step in the tutorial last. I know, I'm a rebel. That way, again, I could cut little by little until it looked the way I wanted it too. I like tees that fall off one shoulder so I prefer a bit of a wider neck.
FINISHED!! And I looooove it! This was SO easy to do and I can't wait to try it on all my other huge shirts!!
There are tons of other really great DIYs on that blog too that I hope to try eventually. That gal is so crafty!
The rest of my day was spent working on a fleece tie blanket to sell on my Etsy page as well as working on a flannel shirt that I had started for myself back at the beginning of the year. Most of the work was already done, it was just a matter of getting the sleeves finished, put on, and hemming the bottom. Such little work yet I'd put it off for this long! Shameful. And even though I wasn't able to finish it today it's now much closer to being done and I'm determined to get it done this week. Hopefully I'll even get to wear it now that the chilly weather is once again upon us.
So there you have it! One crafty Monday in the books! Hopefully the rest of my week will be just as productive!


love how you styled this shirt! Excellent tips for turning old loves into new found treasures!
ReplyDelete